How to Create Your First UI Design App in Figma
As creators or developers, we all have a billion-dollar idea that requires a billion-dollar app to solve users’ problems. But how do you test and validate your app idea using design? With Figma, this is possible because you can design, prototype, and collaborate on your design with your potential uses.
In this tutorial, you’ll work on an app where users can order groceries and have them delivered within 10 minutes at their location. Normally, before designing an app like this, you’d need to do user research and a market survey. This is the user experience (UX) design side of building a business idea. Then, after the research, you’d design the app based on the research result you have. This aspect is the user interface (UI) design. In this post, we’ll focus on the UI side of things by designing the app home screen.
Step 1: Wireframe Your App
To get started, we’ll create a minimalist version of our app idea. This is known as wireframing or low-fidelity design. But before you do that, I recommend getting inspiration for the design, which you can get from UI design websites like Uplabs, Mobbin, or Ui8. You can also create a mood board on Figma.
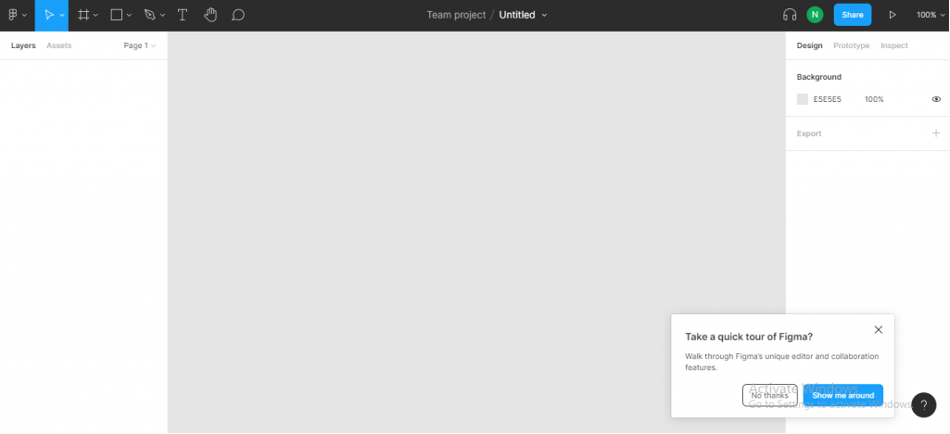
To design your wireframe, log in to your Figma account or create an account if you don’t have one. If you’re new to Figma, check out this post for a brief overview.
Once you’ve logged in, create a Figma file and rename it.
Creating an iPhone wireframe
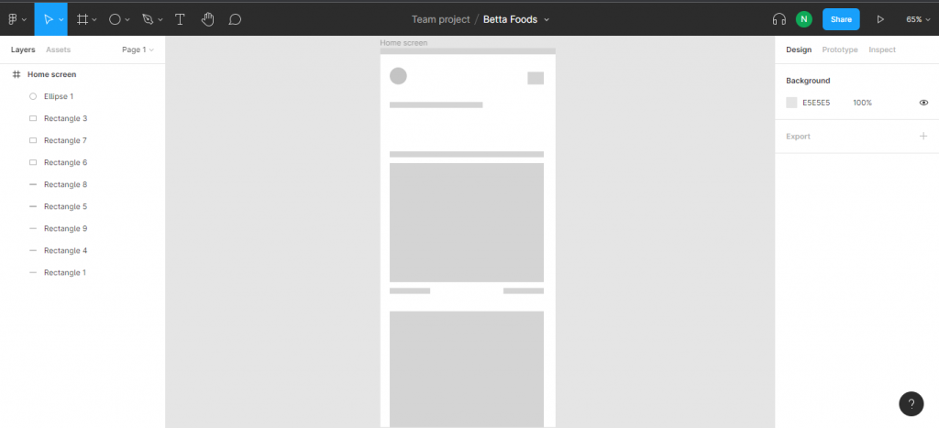
Here you’ll create a wireframe of the app. This will contain shapes such as rectangles, eclipse, and triangles to represent the actual content of the app. First, add an iPhone 13 Pro phone frame to your empty design canvas by navigating to the region tool and selecting Frame.
Next, go to the shape tools and select the rectangle and eclipse and then add them to the iPhone frame like I added them in the image below.
The image above shows a wireframe of the app home screen, which is all we’ll be creating in this tutorial. The boxes represent images and text, which we’ll later replace with the proper elements.
Step 2: Download Plugins
In Figma, there are plugin integrations created by the community. Having access to third-party integrations directly in Figma helps speed up your designs. For this tutorial, you’ll need to integrate four plugins:
We’ll use these plugins to fill in our app wireframe.
Step 3: Add Content to Your Wireframe
In UI design, there are two types of designs: the low-fidelity wireframe, which we saw earlier, and the high-fidelity design. A high-fidelity design is the detailed visual representation or replica of the actual app that you will build or code.
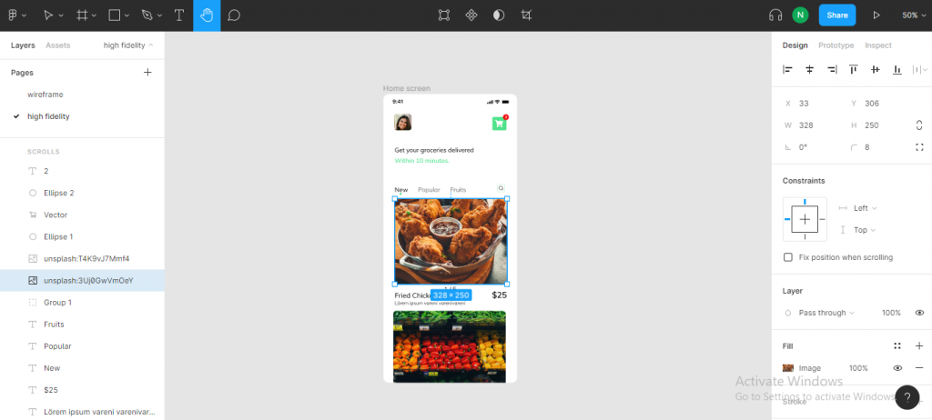
Here, you’ll create a high-fidelity visual representation of your wireframe. You’ll replace all the boxes with the actual content. Create a new page and rename it as “High fidelity,” then add an iPhone 13 Pro phone frame to the canvas.
The image above is the high-fidelity design of the grocery app. Replace the avatar image by clicking on the top-left box and typing Ctrl + / to open the search input and search for the user profile plugin. Select it, and a random avatar image will fill the box. Do the same process to fill the boxes with images from Unsplash.
For the icons, you’ll use the Iconify plugin. Open up the plugin and search for the “cart” and “search” icons. To add dummy texts to your design, you can use the Lorem Ipsum plugin. It automatically adds paragraphs or sentences of dummy texts.
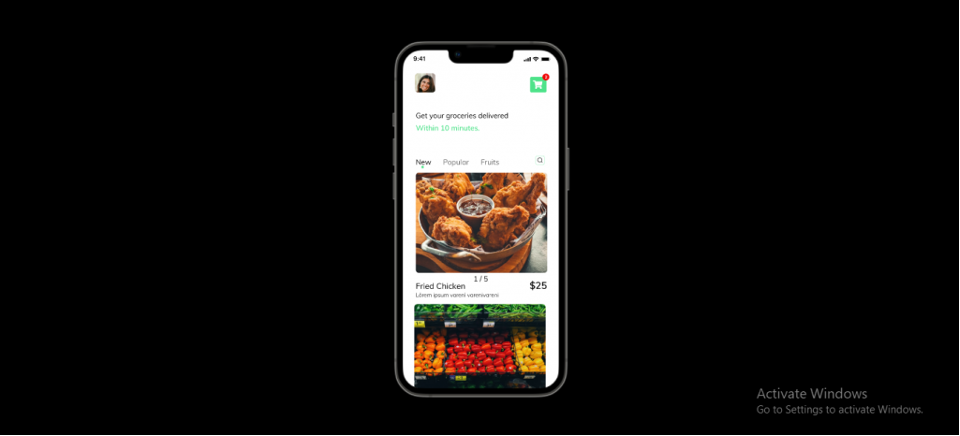
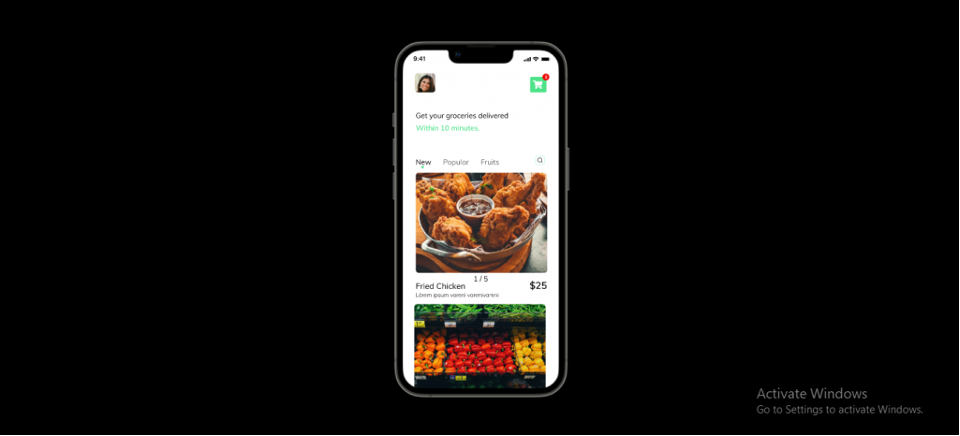
You can preview your designs in Figma by clicking on the Play button on the top-right corner of the editor.
Your preview screen should look something like the image above.
Step 4: Collaborate and Get Feedback on Your Design
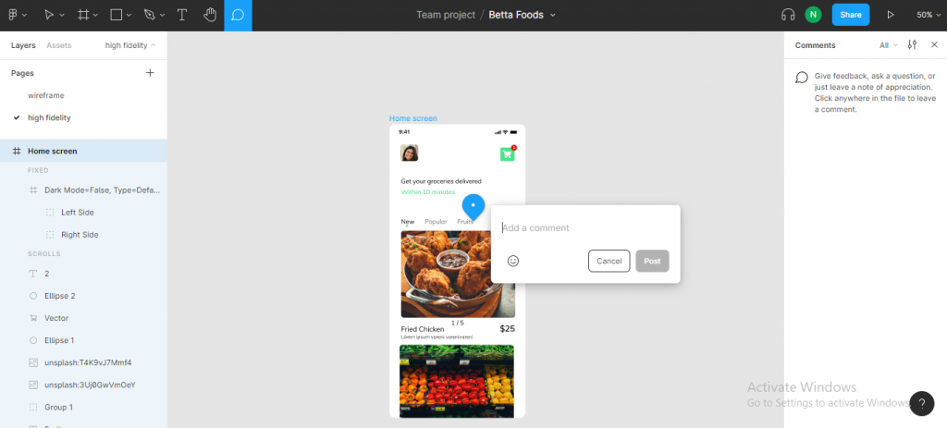
Now that you’ve designed your app, you can collaborate with other designers, users, and engineers for comments and feedback. To add comments, click on the comments button at the top bar of the editor. Then, select any area in the design you’d like to drop a comment for your team or test users.
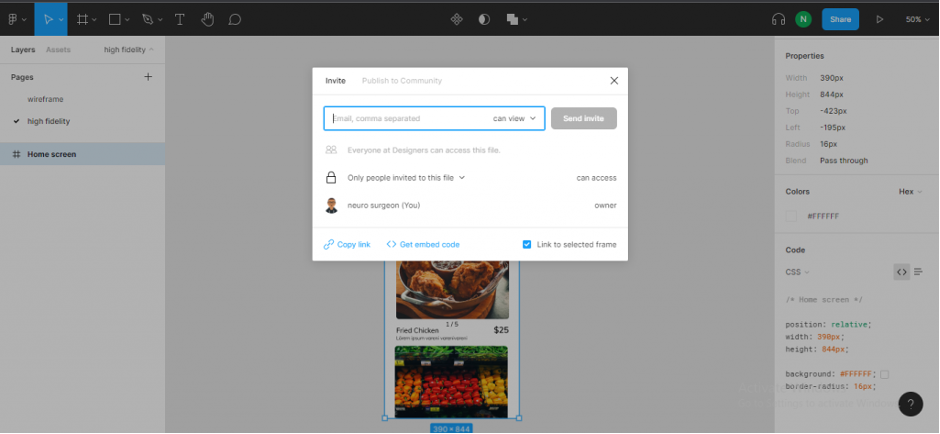
You can also share the design by clicking on the share button and setting your sharing preferences.
Step 5: Share Your Design With the Figma Community
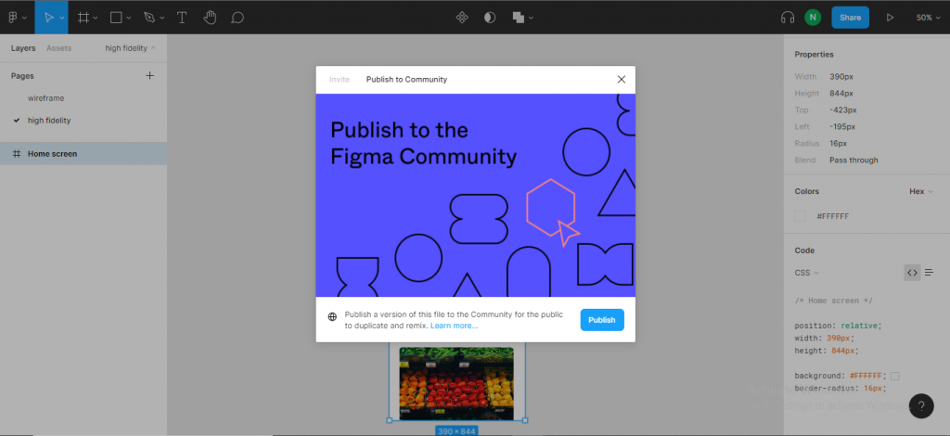
The Figma community provides access to templates, widgets, and plugins. As a Figma user, you, too, can publish your designs and plugins to the community for others to use. You can do this using the share button and clicking Publish.
And that’s it! You’ve created the home screen of your grocery delivery app, although there’s still more to be done. To get more practice with Figma, keep working on your design.
Conclusion
Congratulations! You’ve just learned how to create your first UI app design on Figma by designing a wireframe and high-fidelity design for your grocery shopping app. If you’re interested in getting started with UI/UX design, you can check out the Cprime course on Figma for UX/UI Design.
