Figma for Beginners: The Basics
Figma is an online design and prototyping tool. It’s also a collaborative design tool for teams and designers. It’s free to use, but it also has a paid professional and organizational plan. You can use Figma for UI/UX designs, graphics design, wireframing, diagramming, brainstorming, and remote designs.
In this post, you’ll learn the basics of Figma. You’ll create your first team project and learn how to create your first Figma design by navigating through the Figma editor.
Create a Team Project
To get started with Figma, visit figma.com and sign up for a free account. The free plan covers three design files, one project, unlimited Figma drafts, and FigJam. As your project scales up with more collaborators and files, you might need a paid plan. But for this tutorial, the free plan is enough.
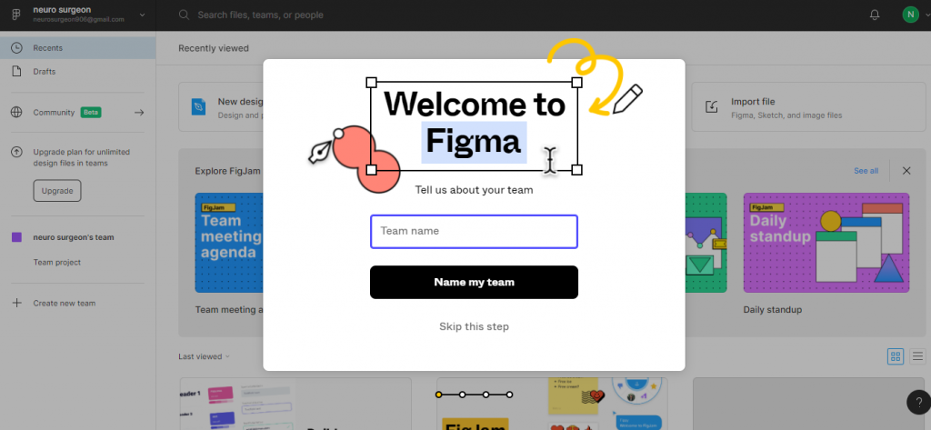
After signing up for an account, you’ll get a pop-up that prompts you to create a team for your project.
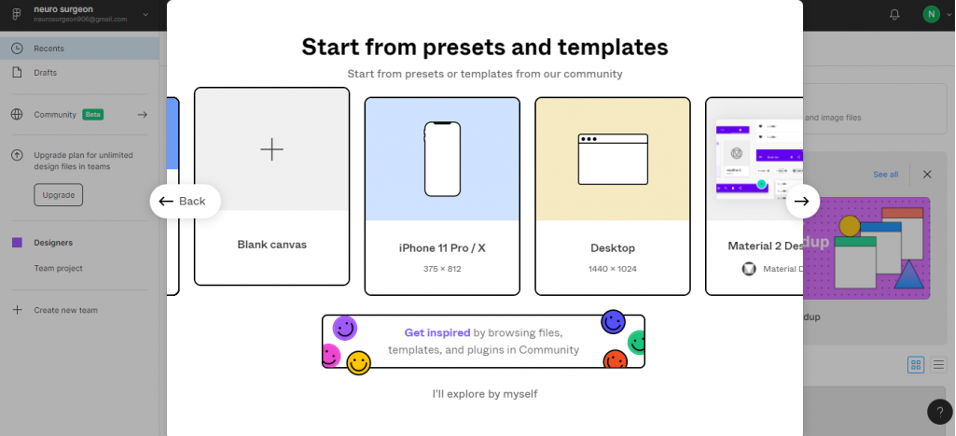
Next, select a design type. The options are Figma or FigJam. For the purpose of this post, select the Figma type because you’ll design and prototype your designs. Then, select a blank canvas to begin your design from scratch.
The Figma Editor
The Figma editor is where you create your design files, prototype, and collaborate with your team.
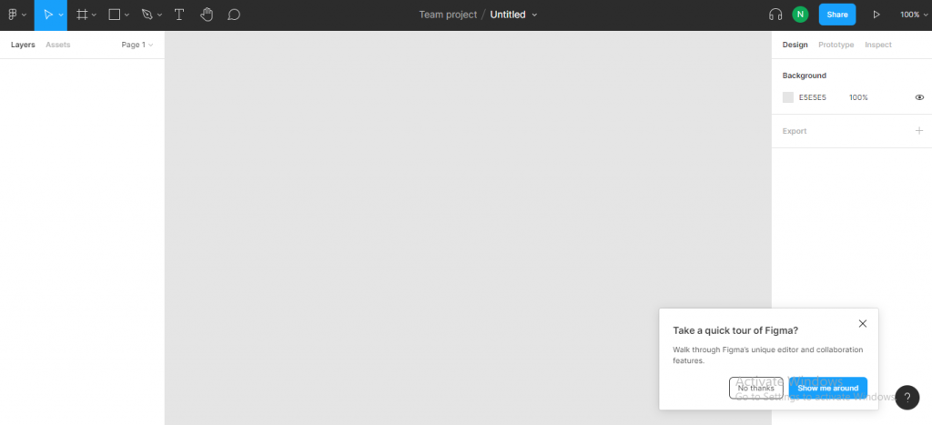
After opening up the editor, edit the filename by clicking on the word “Untitled” in the center of the top bar. Let’s briefly go over the editor’s panels.
Left Panel
The panel on the left side of the Figma editor contains the layers tab and assets tab.
- The layers tab contains your design file pages. You can create more pages, but under the free plan, you can have a maximum of three pages. The layers tab is also where you can see your design layers, which allow you to edit and rearrange each component of your design.
- The assets tab contains all the components and libraries you’ve created for your designs
Tools Panel
The basis for your design relies on how well you can use the tools panel to create a complete and meaningful design. The tools panel contains all the building blocks for your designs.
- An arrow icon represents tools you can use to move design components. There are two tools here.
- The move tool is used to move your designs in the editor without editing the design itself.
- The scale tool is used to scale objects in the canvas either larger or smaller.
- The region tools are used specify any region on the design canvas.
- The frame panel, located on the left side of your editor, is where you can find different frames. These frames include phone, tablet, desktop, paper, watch, presentation, and social media.
- The slice tool can slice an object in the design canvas.
- The shape tool contains the most important building blocks for your design. These shapes serve as the foundation for your designs. In it, you’ll find the rectangle, line, arrow, eclipses, polygon, and star tools.
- In Figma, drawing is possible using the drawing tools. Designers can create beautiful drawings and illustrations using tools such as the pen and pencil tools.
- The pen tool is a vector-based tool. It draws a line based on how you click and drag your mouse at whatever point you place it.
- The pencil tool acts more like the pencil in the real world, where you drag the pen wherever you want to go.
- As its name implies, the text tool is used to add text to your designs.
- The hand tool is used to move or navigate in the canvas. Just click and drag in any direction on the canvas.
The remaining tools, like the comment, share, and play buttons, are for collaboration and prototyping.
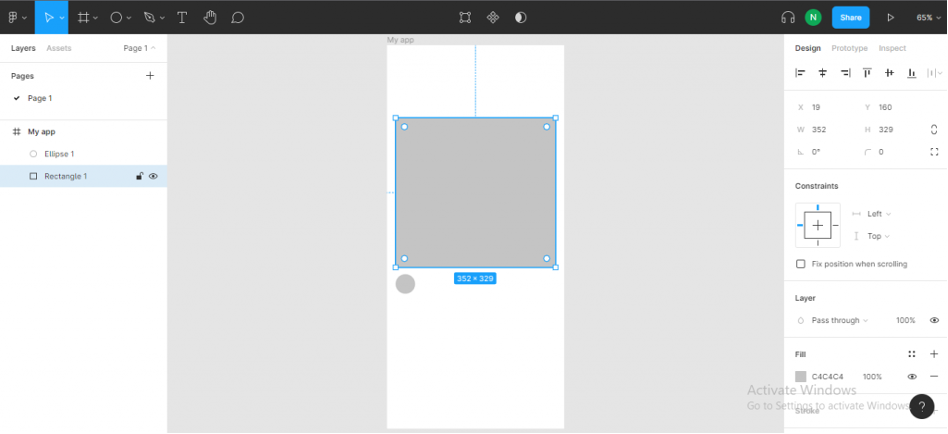
Properties Panel
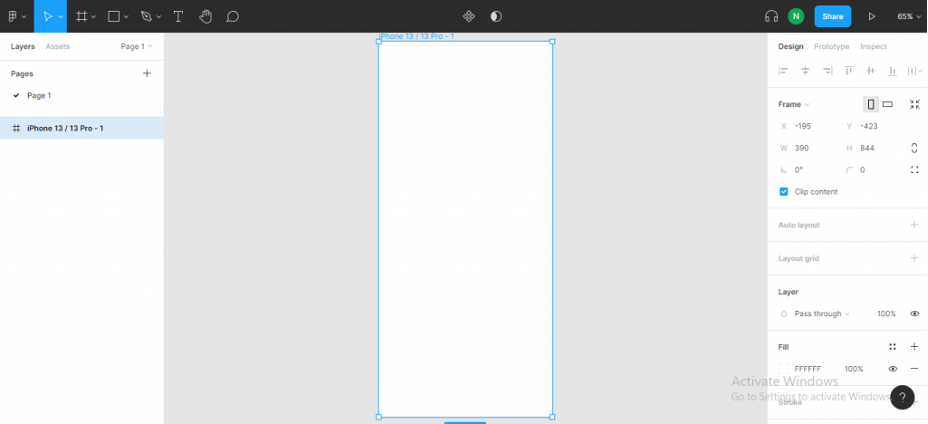
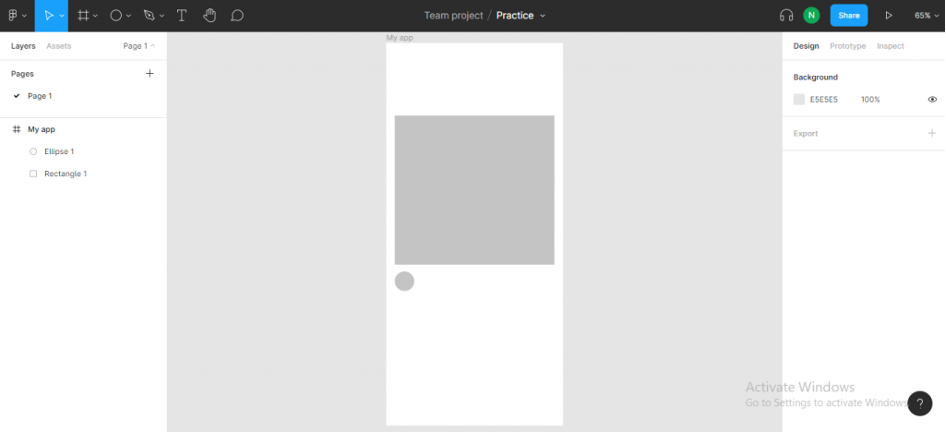
The property panel is where you’ll edit the property of each object added to your design canvas. This panel is on the right side of the Figma editor. To understand this section better, add a frame to your design canvas. Go to the Tools panel, click on the region tool, and then select the frame tool.
On the right side of the editor, you’ll see a list of frames. Click on the phone and choose the iPhone 13/13 Pro frame. Doing so will add it to your canvas automatically. You’ll also see different properties for the frame that you can add or modify in the properties panel.
You can rename the frame by double-clicking on the frame in the layers panel. Next, edit your frame by adding a 352-by-329-pixel rectangle in the center of the frame and a 43-by-43-pixel eclipse just below it. Now, edit each of the properties of the shapes in the property panel.
Edit the rectangle’s corner radius, fill, and stroke as follows:
- Corner radius: Add eight pixels on all the sides. To do this, go to the dimension section just below the alignment section. The corner radius is the sixth dimension on the right.
- Fill: This is the fifth section on the property panel. Click on the color box and edit the color to #DFDADA and opacity to 79%.
- Stroke: This is the next section after the fill section. Change the stroke color to #000000, the line thickness to 0.5, and then the shadow to inside.
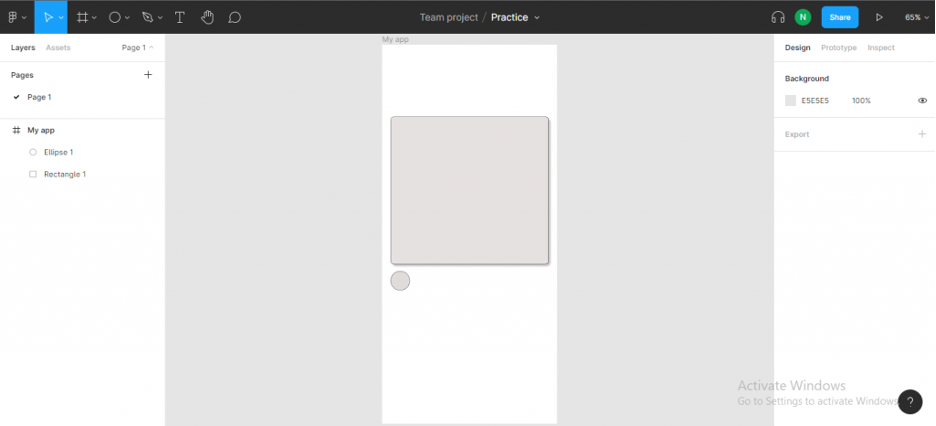
Edit the eclipse like so:
-
- Fill: Change the color to #DFDADA and opacity to 79%.
- Stroke: Change the stroke color to #000000, the line thickness to 0.5, and then the shadow to inside.
Conclusion
In this post, you learned how to get started with Figma. You created a design using the design tools in the Figma editor. If you’re interested in getting started with UI/UX design, you can check out the Cprime course on Figma for UX/UI Design.